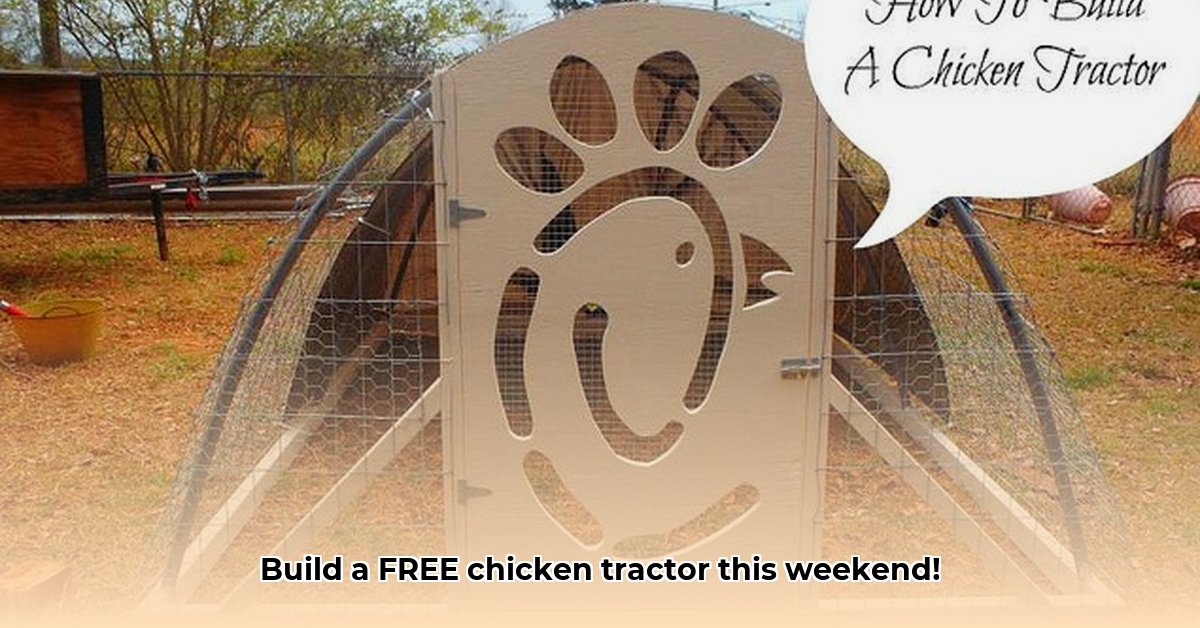
Ready for fresh eggs and happy chickens without breaking the bank? Building your own chicken tractor is easier than you think! This step-by-step guide will show you how to construct a mobile coop in a weekend, providing your flock with a safe and enriching free-range experience. We'll cover everything from selecting the right size for your chickens to building a durable, predator-proof design. For even more detailed plans, check out these free chicken tractor plans. Let's get started!
Gathering Your Supplies: Essential Materials for Your Chicken Tractor
Before you begin, gather all your materials. Having everything ready will streamline the building process.
Materials List:
- Lumber: Pressure-treated 2x4s (or reclaimed lumber for an eco-friendly option) for the frame. The quantity depends on your desired tractor size (see sizing recommendations below).
- Hardware Cloth: This is crucial for predator protection. Use 1/2" or 1/4" mesh hardware cloth, not chicken wire. (Chicken wire is too weak and easily damaged by predators)
- Plywood: A sheet of plywood will create a clean floor for your chickens.
- Wheels: Heavy-duty casters (sizes will depend on the weight of the finished tractor and terrain; larger wheels are better for rough ground).
- Hinges: Sturdy hinges for the access door.
- Screws & Nails: Galvanized screws and nails are best to prevent rust.
- Tools: Circular saw (for cleaner cuts), drill, hammer, measuring tape, level.
Building the Frame: The Foundation of Your Chicken Haven
Building a sturdy frame ensures your chicken tractor remains stable and safe.
- Measure Accurately: Determine your tractor's dimensions (at least 4 square feet per chicken is recommended). Carefully measure and cut your 2x4s to these dimensions. Precise cuts are crucial for a stable structure.
- Assemble the Frame: Construct a rectangular frame using screws for strength. Use a level to ensure square corners. Reinforce corners with extra screws for added stability. (This helps prevent warping and collapse over time).
- Install Wheels: Securely attach the heavy-duty casters to the frame's bottom. Ensure even weight distribution to prevent wobbling.
- Attach the Plywood Floor: Fasten the plywood to the frame, creating a clean, dry floor for your chickens. (This prevents muddy or soiled feet).
Securing Your Chicken Tractor: Predator Protection is Paramount
Protecting your chickens from predators is paramount. Don't skimp on security!
- Hardware Cloth Enclosure: Attach the hardware cloth to the entire frame perimeter, ensuring a tight, gap-free fit to prevent predator entry. (This is your primary defense against predators).
- Constructing the Access Door: Cut an appropriate-sized access door. Use sturdy hinges and a secure latch. (Make sure the latch is strong and easy to use).
- Reinforce the Base (Optional): For extra burrow-protection or rocky ground, add a layer of metal mesh to the bottom of the tractor. (This helps prevent digging predators from reaching your chickens).
Adding the Finishing Touches: Creating a Chicken Paradise
Now, let's make your chicken tractor a comfortable home.
- Roofing: Add a roof (plywood, corrugated metal, or sturdy tarp) for protection from sun and rain.
- Nesting Boxes (Optional): Include small nesting boxes to make egg collection easier.
- Perches (Optional): Add sturdy perches for your chickens to roost comfortably at night.
Troubleshooting and Potential Problems: Addressing Common Challenges
Even with careful planning, issues might arise. Here's how to handle them:
- Predator Attacks (Medium Likelihood, High Impact): Regularly inspect for damage. Add motion-activated lights or other deterrents. A strong, well-installed hardware cloth is your ultimate defense.
- Weather Damage (Medium Likelihood, Medium Impact): Use high-quality, weather-resistant materials and ensure your roof is securely attached.
- Mobility Issues (Medium Likelihood, Medium Impact): Use robust wheels and, for uneven terrain, consider adding larger wheels or ramps.
Remember, adapting the design to your specific needs and climate is key. Share photos of your finished chicken tractor – we'd love to see it!